Thursday, 30 August 2012

Curve fitting program for the HP-35s (combines the manual's programs into one label)

Chapter 16 of the HP-35s manual has programs for 4 different curve fittings. They are spread accross several labels and so take up valuable labels that could be used for other programs.

I have combined them into one label.

Here are instructions:


and here is the program listing:


Comments, suggestions & corrections welcome.

(Edit: updated as C065, C114 & C118 are e^x and C128 & C135 are y^x and were showing incorrectly)

Sunday, 29 July 2012

Corrections in calculations on a modern "textbook" display calclator

Modern calculators that have a real textbook like display can offer advantages not only to inputting formulas, but when realising a mistake several steps down the line. Here is one such calculator that, when an error is corrected a few steps back, the updated results are automatically flowed down.

Here is the problem statement:
The respondent has come to the second part and written down some equations and decided to calculate it on the calculator. When the last answer seems a bit strange, an error is found in the earlier entry, corrected and the correct answer is immediately visible at the last calculation.


Tuesday, 3 January 2012

Installing AAAA batteries on the HP-30b

As I am of the opinion that coin cells are not a good idea for programmable calculators, particularly those powered by processors with high speed capability, I decided to look into modifying my HP-30b to take AAAA-style batteries.

For non-programmable calculators, coin cells are fine as the routines for all functions are optimised and will complete usually within microseconds (some really complex functions may take a few tenths of a second at most).

However, programmable calculators allow the user to write their own functions and routines that may have many iterative loops that could take several seconds or even hours to complete. This often puts the processor in a mode that a higher current usage. The current drawn during this time is usually at levels that coin cells struggle to maintain – they have significant internal resistance to start with which gets worse as they discharge.

I have read that the ATMEL based range of calculators can use upwards of 20mA during program execution. There has been mention that the processor speed is reduced if a program continues for an extended period. However, someone regularly running a program that takes a few seconds, would put some strain on the CR2032.
Some comparisons of data between CR2032 (used in the 30b) and AAAA cells:


Parameter
CR2032
AAAA
Internal Resistance
10 000 – 40 000 mΩ
150 to 300 mΩ
Voltage
3V
1.5V
Capacity
230mAh @ 0.2mA to 2.0V
600mAh @10mA to 1.0V

The 30b uses 2 CR2032 in parallel, that is ~460mAh. To get the same operating voltage, two AAAA would need to be in series, still giving 600mAh capacity. Also with an internal resistance of two orders lower than the CR2032’s, voltage drop for the AAAA at 20mA is max. 0.006V whereas the CR2032 is min. 0.2V. Thus the AAAA should give a lot more "head room" and be less likely to cause the calculator to die or behave erroneously during "heavy" use during program or formula execution.

Also, I have repurposed this unit to a WP-34s.

Opening the 30b

First remove the back cover and undo the 5 screws, 2 are under the bottom rubber:

Just lift up the corners to get the last 2:


Now carefully pull the back off the front, bending the sides outwards to undo the clips:
 DO be careful so as not to damage the screen.


Finding space for the 2 AAAA cells

The cells were taken from a 9V battery. They are already conveniently tab welded together, so they can be split into pairs. (for more info to dismantle a 9V, google something like "AAAA from 9V").

NOTE: the cells that I obtained from a 9V battery, were of OPPOSITE polarity than expected (flat side was +ve) - so check first before connecting!!

After some measurements, I decided that directly behind the screen was the only place that had a reasonable chance of success such that when the back sliding cover was in place, it would look like an ordinary 30b.

BUT this would mean removing some of the padding that normally protects the screen.

First, cut a rectangle in the back:
I measured the approximate size for the 2 AAAA and marked it, drilled small holes around the inner perimeter of the marking, cut it out and smoothed the edges as best I could.

Back with original screen backing plate in place:

Screen backing plate removed and hole cut in its place: (note the metal plate - is it really necessary for the screen or just to give the calculator some heft?)


The rubber spacer in front of the screen also had to be removed:

Removing all this padding probably makes the HP calculator engineers cringe. But then I may have lost the guarantee when I opened it and started cutting... ;-)

However, I did think the screen needed a bit of protection. A piece of thin foam packing material was just right:

Some of this came with the WP-34s programming cable.


After seating the LCD properly and bending the wires in approximately the right route (to fit through the openings in the backing ribs - see dashed lines):


The two halves are clipped back together:

And now to see how much they protrude:
This should be fine when the slide on battery cover is replaced:

And it sill works:

The most frustrating bit for me was getting the inside of the LCD window clean, possibly because it's winter and the dry heated air in the house is making the plastic more static. Hopefully now it is closed there won't be too much dust getting in even though the gasket is removed. Only time will tell how susceptible the screen will be to damage without it's normal padding and batteries right behind it.

Other observations

The quality control of HP calculators has come to light again. When I first opened it up, I noticed a small chip on the top of the screen. Now note that I never brought a sharp object anywhere near the calculator and I am always careful to ensure the screen in not bent.


So now it's a race as to what will cause the screen to fail first, the batteries directly behind it or this chip cracking through on a cold winters night?

Saturday, 28 May 2011

Opening the HP-12C Platinum (original silver faceplate)

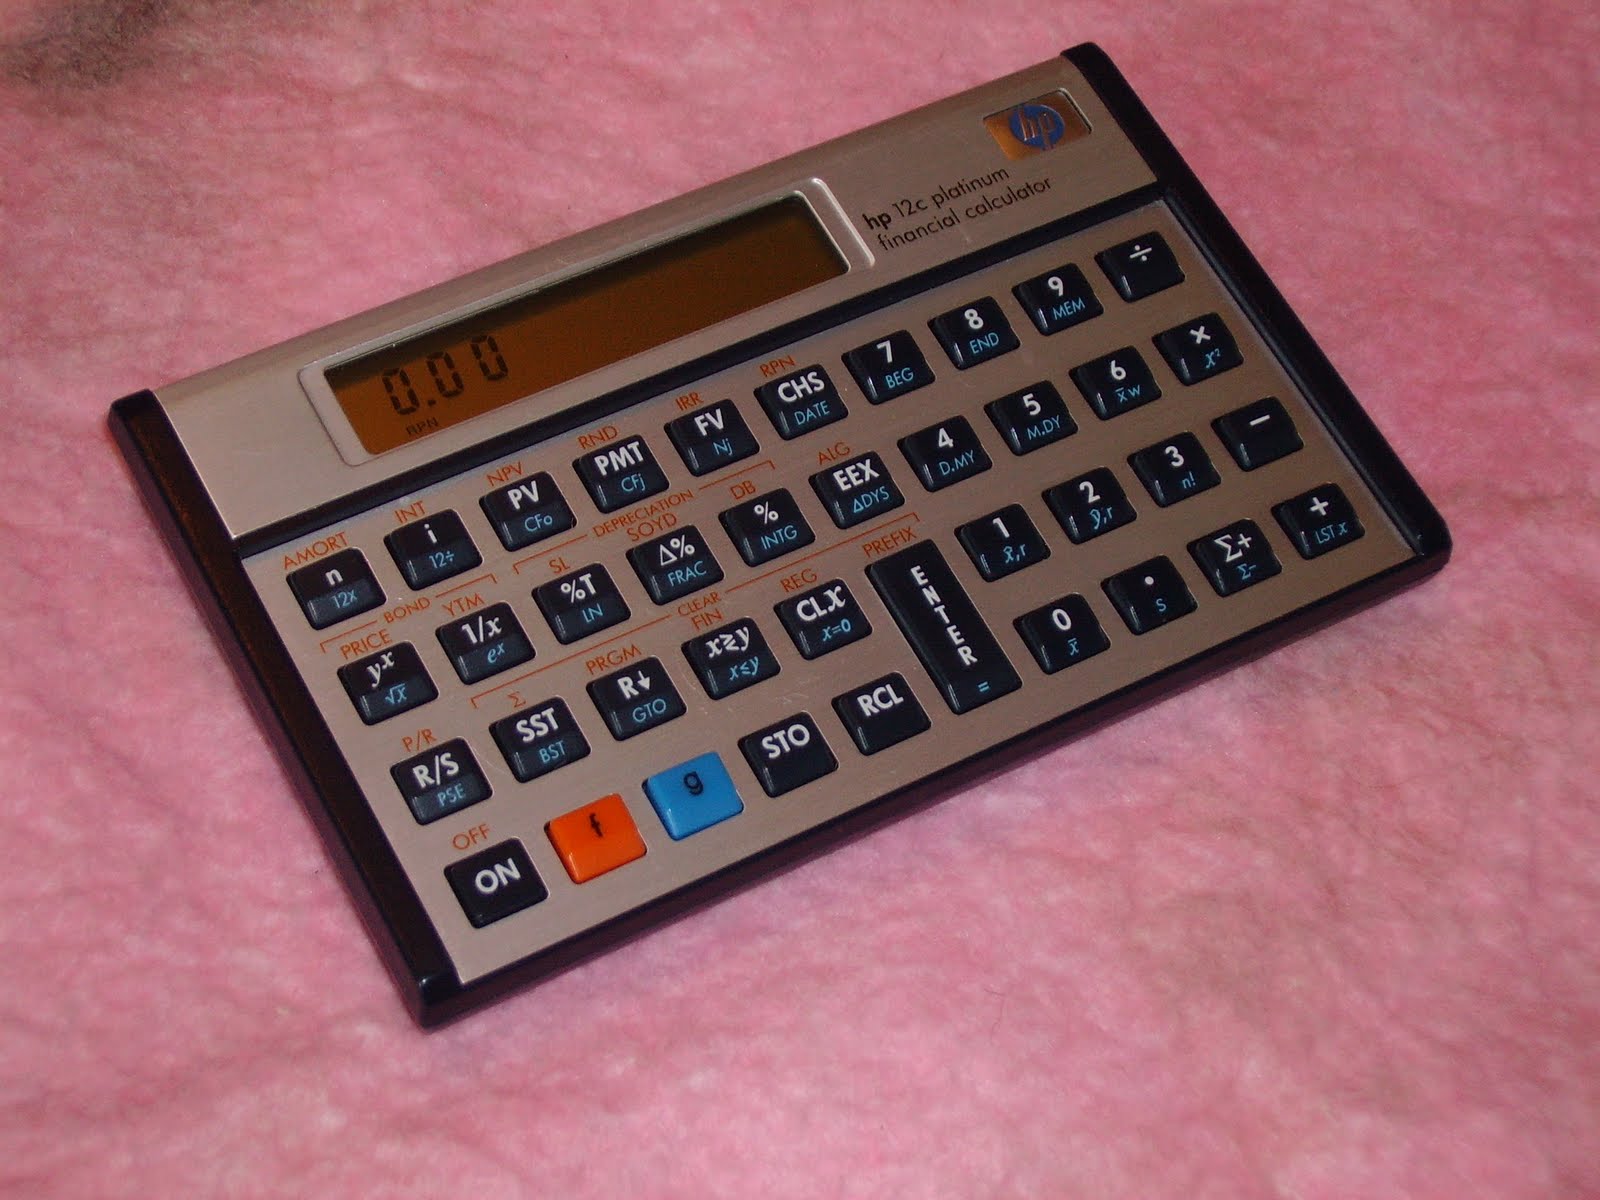
A while ago I got a HP-12C platinum (aka HP-12CP) off eBay. It had a depressed decimal point key. Today I decided to investigate, so opened it was. To open, first remove the battery and the rubber feet and then undo the 5 screws. With a plastic pry tool, lift off the back. the PCB is now visible. To go further, the tops of the heat stakes have to be removed. I cut them off carefully using the blade of a Stanley knife (Note - these will have to be replaced by screws. As the plastic stakes are hollow they take small screws quite easily but these may be difficult to find. I salvaged some from a 50G that fell into dis-repair due to screen problems. Look out for my next blog). Carefully taking the PCB off (to which the screen is attached) reveals a rubber mat under which is the keyboard.

Back removed showing PCB with heat stakes cut off and showing some of the replacement screws


All keys apart from the two shift keys are hinged plastic type. I have seen this (dis)proven technology before, in a cheap '70s four-banger (see the picture of the Satek 8M - suffering the same problem). This is not what I would expect in a top-of-the-range calculator that this is supposed to be! The shift keys are on separate rotating hinges - much better, but what do HP think? that the shift keys are used most often? is a calculator not used for numbers? wouldn't it seem  reasonable that the number keys would need to have the better design?

The loose 12CP key


Cheap '70s Satek 8M with broken hinged key


In this case the decimal key has become totally detached from its hinges and the 9-key has one leg detached and the 5-key is showing signs of weakness at the hinges - as I would expect the number keys are first to go as they are likely used more often.


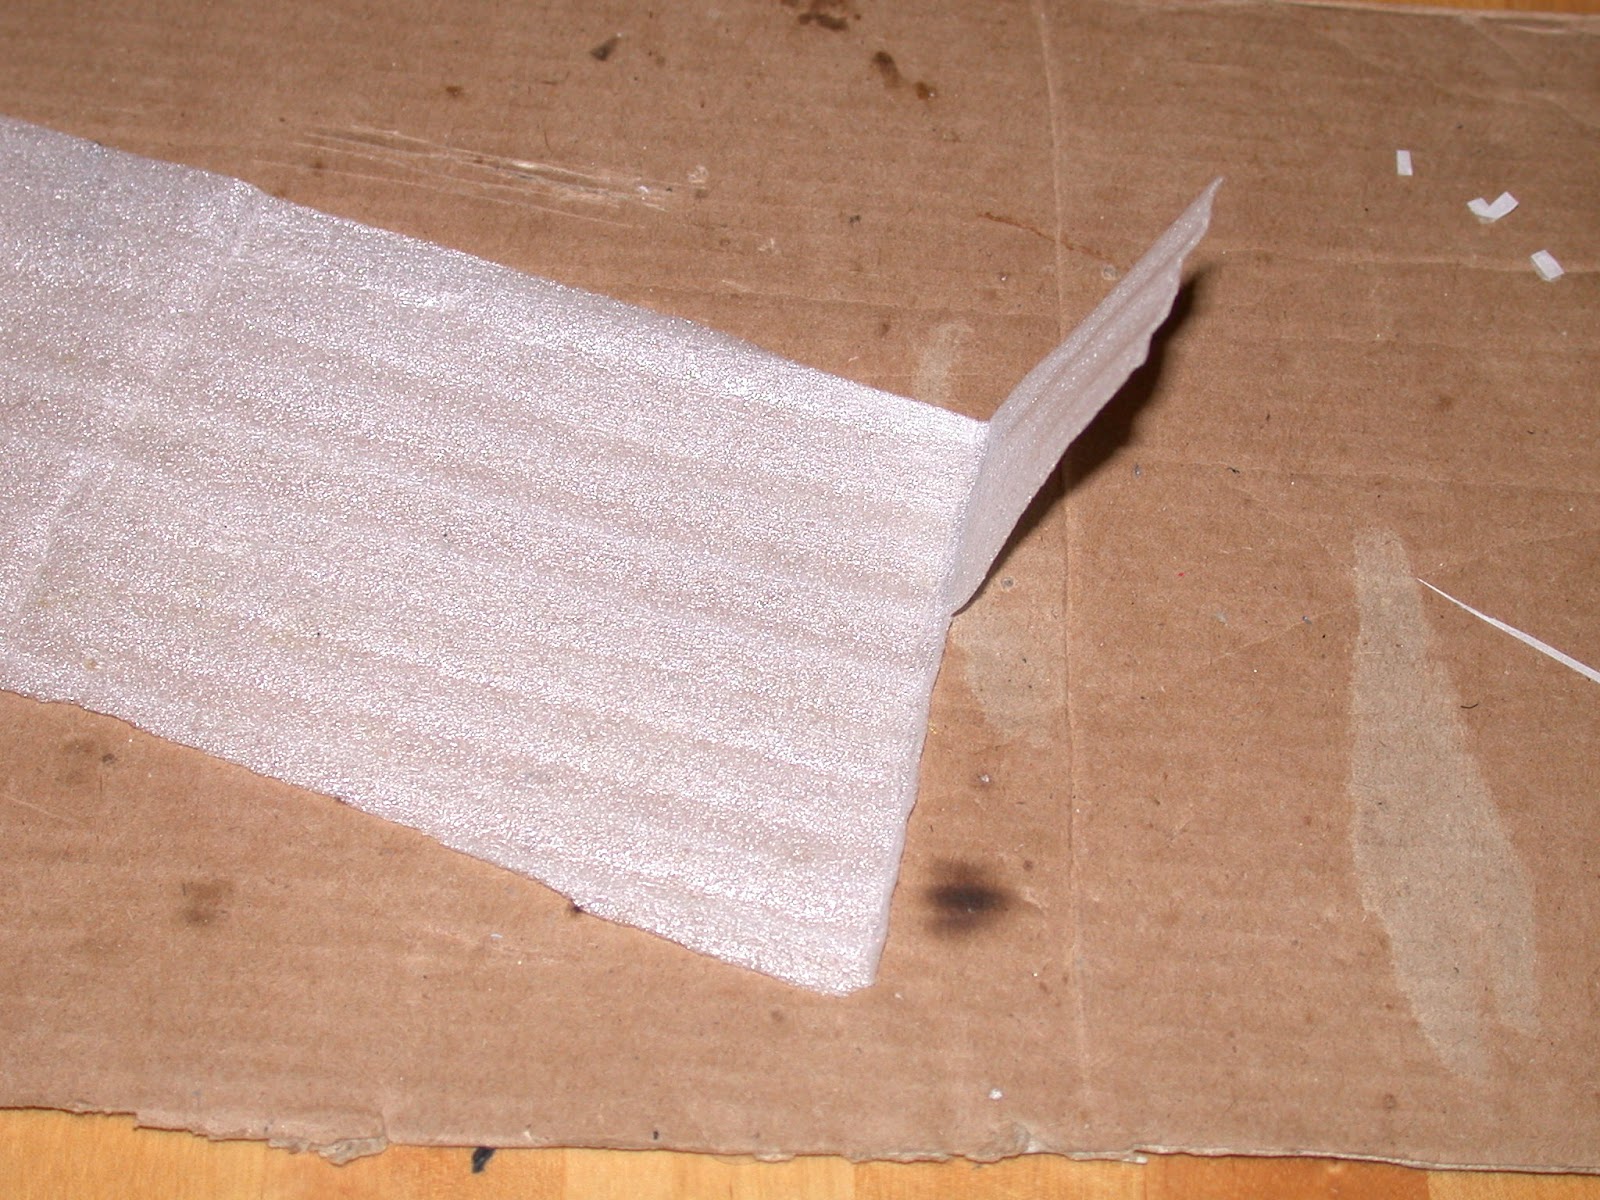
To get the key more-or-less back to normal, it needs a spring to keep it lifted up and a "hinge" to rotate on. The hinge was fashioned from aluminium tape and a sponge added as I did not have a spring of the right size handy. (Other keys were taped as well in the hope that it will prevent breaking, note the white piece of sponge under the decimal key in the last picture).


The repaired unit put back together:

The decimal key feels a bit squidgy, so I guess an actual spring would be the better solution.


PLEASE NOTE: the newer black faceplate model apparently has a better keyboard (it certainly feels better).

Monday, 20 December 2010

teach them to fish ...

I firmly believe in "give someone a fish and you feed them for a day, teach them to fish and you feed them for life". However, teaching takes time and effort, something I am willing to do. Unfortunately not everyone wants to learn: "just gimme the fish!". This is also true for some students (note I am NOT generalising here, there are many hardworking students out there). I recently came across one such case on a calculator forum. He (or she) wanted help with solving a differential equation on the calculator. I (and others) recognised the equation as coming from electrical/electronics field. However, it was evident from the original post that he had put it incorrectly into the calculator. After giving a few directions and hints to get him thinking, the response was "just tell me how to put it in the calculator". He has not come back on that particular subject. Later that same person posted a link about calculator software that showed solutions step-by-step. Unfortunately this was for another calculator, and he proceeded to badger forum members to write such software for him.

I've given up on trying to help that person. If there was indication of wanting to learn, I would gladly help - but there doesn't seem to be. You can lead a horse to water...

Tuesday, 7 December 2010

FMEA/FMECA on electronic circuits - can anyone do them well?

In this case, it stands for "Failure Mode and Effects Analysis" or "Failure Mode, Effects and Criticality Analysis". I work with critical electronic equipment, and to ensure that it works as it should, one of the tools is an FMEA. They can be very useful, once completed correctly, for use in data for Basic Events in Fault Trees, Maintenace Task Analysis, failure detection and isolation, logistic support analysis, unscheduled removal and availability analysis, and more.

BUT, only if it is done well. One of the biggest problems is the proliferation of effect descriptions. There must be UNIQUE and WELL described effects. So often I find the same effect described in various ways. I am currently working on one that was contracted out to a "professional" company specialising in electronics FMEAs. Well, they have (a) badly described effects. I continually have to look at the failed element in the circuit to see what they meant with the effect. (b) Describe the same effect differently. There are almost 4000 low level effects - I reckon it should have been below 1000. There are over 400 high level effects - I am working on reducing it to below 100. Some of these high level effects differ only by one synonymous word (e.g. "element number noted in A" and "element number listed in A"). This makes it so difficult to filter on specific effects - which is what an FMEA is all about!!!.

Is there anyone that thinks the way I do??? Perhaps I should start doing them for a living (in my current job I don't have the time).

my blog name

Why PickyB? Well, one of my bosses told me the other day "you're the pickiest bastard I know", which I guess is a reasonable description of my attitude towards things. They have to be right, why else bother doing them.